Progressive loading of high DPI photos
I spent an evening adding 'progressive' loading of the title images to my blog.
The title images for this blog are 3840 × 2160 and a hefty ~650K each. That's entirely intentional; as a photographer I wanted them to look as sharp as possible and take advantage of high pixel density screens.
The only downside of hi-res photos is that even with a good internet connection, you can still see the photo loading as the browser reads the JPEG. It's visually jarring and way too reminiscent of the web, circa 2000s.
A reasonable solution is to first download a smaller lower-resolution version, then load the full resolution image on top of that. So the user sees something relatively quickly, without the visual contrast of an image loading on a blank background.
JPEG images natively support something very similar; if you save your photo as a progressive JPEG, you will get a pixelated image that gradually gets more detailed as the browser reads the file. Personally, I don't like the visual effect of progressive JPEGs. They may be an improvement over displaying a line at a time, but the initial pixelation is not visually pleasing.
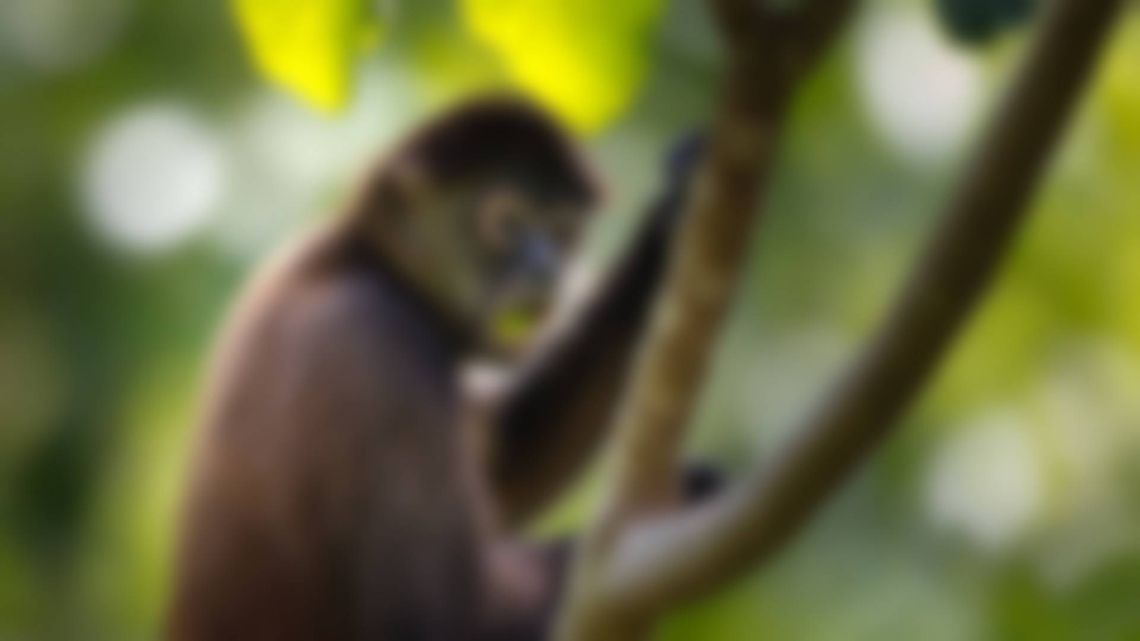
This blog implements an alternative method of progressive loading of photos. For each title photo there is a 1920 × 1080 version that is only around 70K or so. This smaller version of the photo is heavily blurred with a gaussian blur filter by Moya Tech Blog. The blurred image gives a good impression of what the full image will look like, without obvious pixelation (and conveniently blurred photos compress really well in comparison to the non-blurred original).
Here's an example of one of the blurred preview photos:
This blurred photo is absolutely positioned directly behind the title image, so that when the hi-res version loads it covers the blurred image. There is also a CSS transition to smoothly fade in the hi-res version, further reducing any visual interruption.
All in all, it works quite well. Technically, it will increase page-load time since it serves an extra image, but from the visitor's point of view, the page will appear to load significantly quicker.
If you are reading this via a feed, you might want to go directly to my blog and click around the links at the top to see the effect in action.
Update: You may have noticed I added an animation effect to the background which looks kind of like a camera focussing when combined with the blur. I'd be the first to admit I may have gone overboard with that; I may yet regret learning how to do CSS transitions...

Nice effect, would be nicer if the full-res version shows instantly if it's in the cache. As I go through your site the same image "progressively" loads in even though it's surely in my browser cache. Also, how do you determine the delay? Seems exactly the same every time, would be great if the full-res image faded in immediately after it finished loading. Nice photos :)
Well observed. The delay is arbitrary. Half a second after page load it fades in the hi-res version.
I'd like to be a bit smarter about it, but its complicated by the fact that the image is selected with CSS media queries to fit the screen dimensions. It's also a background image rather than an img tag. Otherwise I could kick off the fade in with JS.
Glad you like the photos!
Load the image using an invisible <img> element and bind to the on load event on the element and then insert your real high res overlay into the DOM with same responsive CSS as before. You could relatively easily detect if the image is immediately loaded to remove the CSS animation.
B
Very nice! I found this via HN post today and was intrigued by seeing another developer with photography interests. What a great way to mix the two!
Thanks. I've often thought that photography and programming have a similar kind of appeal. There is that desire for technical mastery. But at least photography gets you out of the office!